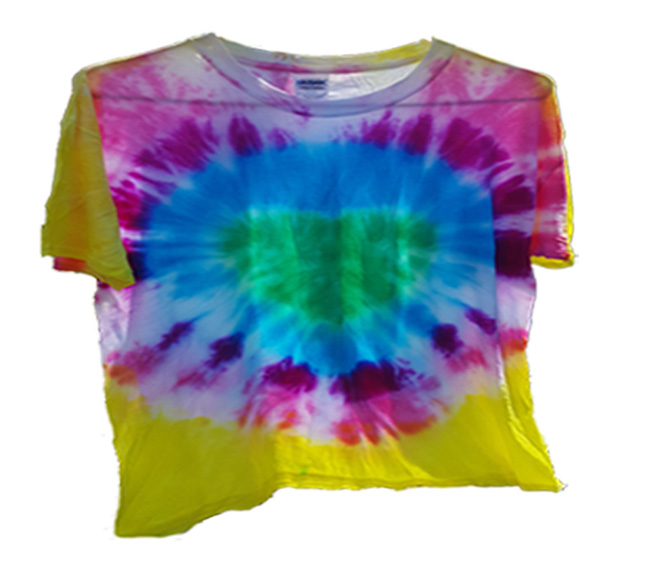
One design that never seems to get old is tie dye. I recently taught myself how to tie dye my own shirts as well as some other things which has been fun like tie dye hair scrunchies! When it comes to making tie dye shirts there are different ways that you can do it to get a different designs such as a cute heart tie dye t-shirt!
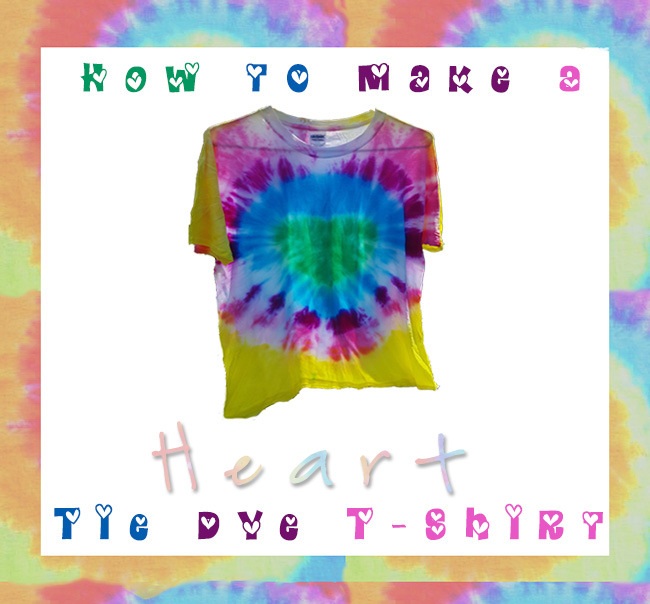
How To Make A Heart Tie Dye T-Shirt
Supplies – What You Will Need
- Tie-Dye Kit – should include dye, rubber bands and gloves
- T-shirt (white or light colored)
- Washable marker
- Plastic wrap
- Ziploc bag
- Paper
- Scissors
Step One
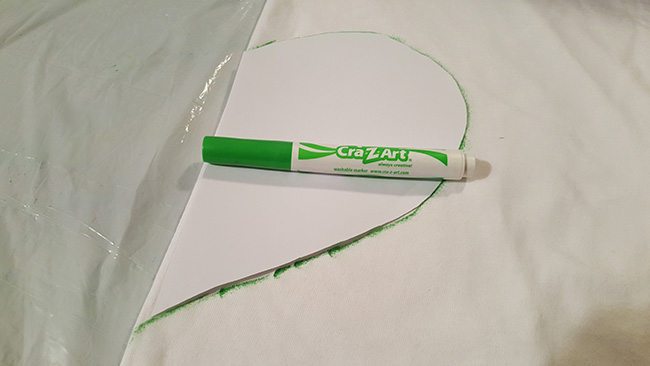
Run cold water over your shirt and ring it out making it damp. Fold shirt in half and lay on flat surface. Using a blank piece of paper draw a big heart. Cut the heart out and fold it in half. Using a washable marker and your heart pattern, draw an outline of the heart onto your shirt.
Step Two
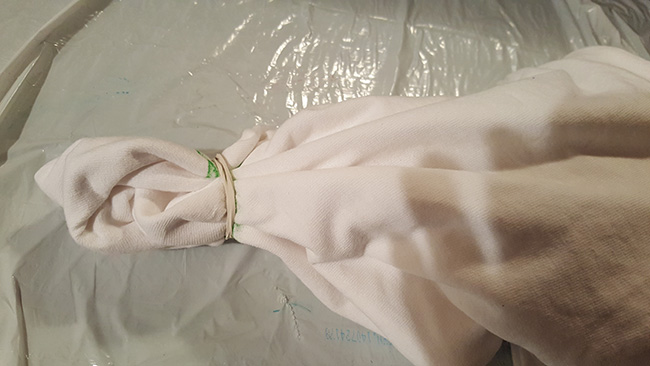
Tightly pleat the fabric along the marker line you created and then bind it tightly with a rubber band.
Step Three
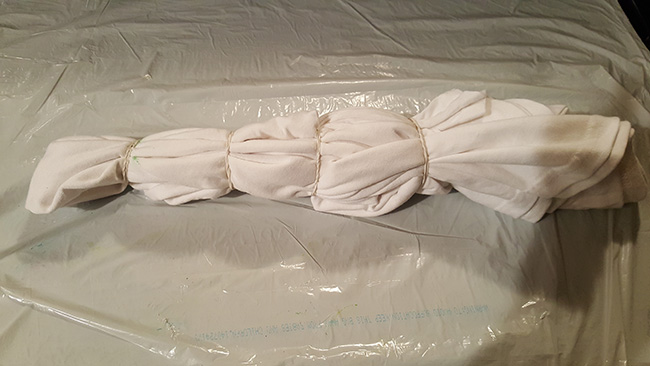
Next you will want to create more sections on your shirt by using 2-4 more rubberbands, binding them around the t-shirt.
Step Four
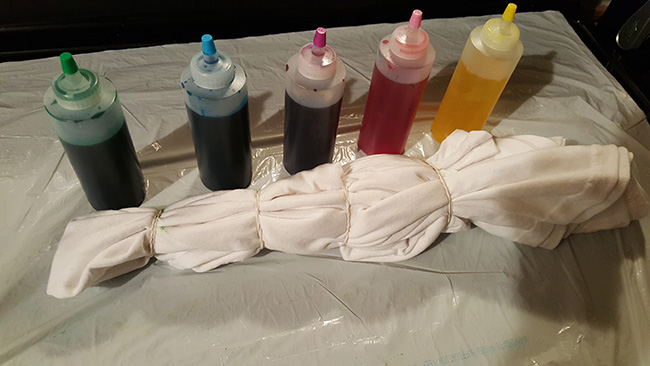
Mix the tie dye mix and bottles per instructions with kit. Most tie dye kits like the Tulip One-Step Tie Dye Kit just has you add water which makes this step really easy!
Step Five
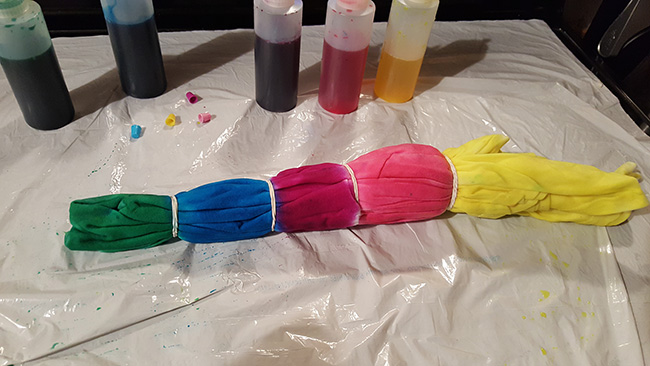
Using the colors of your choice, SOAK each section with the dye. Make sure to use enough that it saturates through the shirt.
Step Six
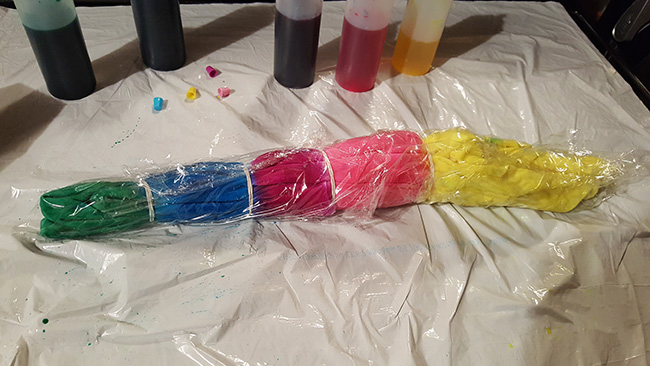
Wrap plastic wrap around the t-shirt.
Step Seven
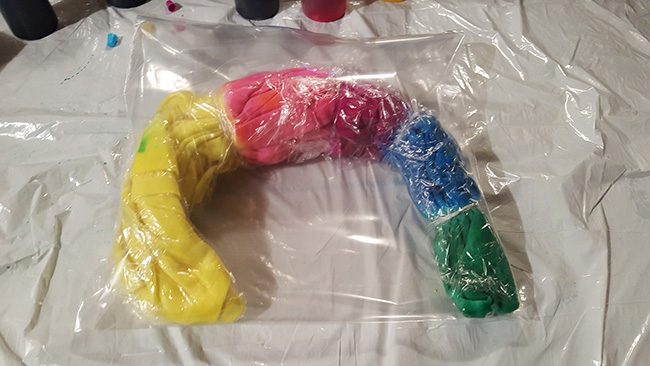
Place wrapped t-shirt in Ziploc bag and seal it.
Step Eight
Let the heart tie dye t-shirt soak at least 8 hours. The longer the better. Once you are ready for your reveal, remove t-shirt from Ziploc bag and remove plastic wrap. Run t-shirt under cold water until water is clear.


Leave a Reply